Introducing Ansel Adams’ The Zone System. Our intent in bringing you these blog posts is to highlight the creative processes and discovery of photography as a medium of art and expression. While we may not have first-hand knowledge of everything we present (it’s hard to), we bring an amalgamation of ideas and content in a succinct fashion to present the community’s body of work, feature great photographers and various techniques.

Drawing from our earlier blog post. A personal experience with The Zone System involved many hours and weeks in the darkroom whilst living in San Francisco in 1994, while witnessing the art scene in the Bay Area, an exploration that lives in my subconscious even today. I spent a long time trying to understand it but as an amateur I couldn’t replicate the same technique. With the advent of digital photography, everything changed. Film was no longer the mainstream format. I don’t have direct experience with The Zone System in a digital medium but would love to get together with local Mumbai photographers to explore this technique.
Read more about Ansel Adams in our earlier blog post here. https://photowotoin.wordpress.com/2017/05/01/photo-feature-ansel-adams/
His basic rule was,
“Expose for the shadows; develop for the highlights.”
The Zone System provides photographers with a systematic method of precisely defining the relationship between the way they visualize the photographic subject and the final results. Although it originated with black-and-white sheet film, the Zone System is also applicable to roll film, both black-and-white and color, negative and reversal, and to digital photography. [Ref 2]
“He pre-visualized the final image and exposed, developed and printed to get that in the final print. He adjusted exposure, used filters, applied special development, dodged, burned, masked, used intensification and reduction, used different paper grades and toned his prints. There’s nothing “straightforward” about that. But for him, the point was to produce a print that showed what he saw, not the process(es) used to do it.”[Ref 6]
A brief introduction to the technique.
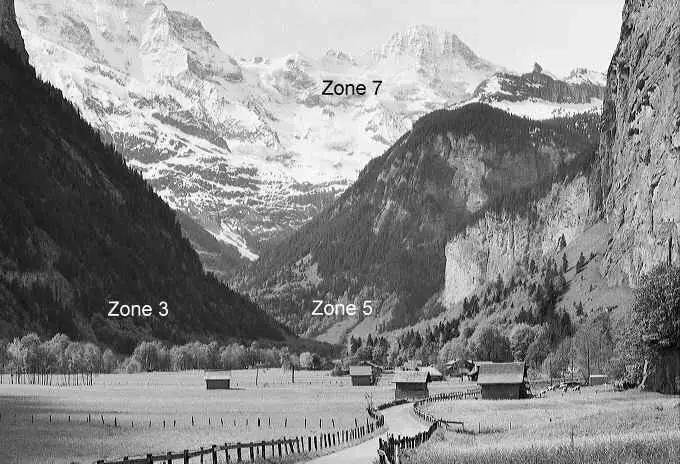
The zone system divides a scene into 10 zones on the tonal scale. Every tonal range is assigned a zone. Every zone differs from the one before it by 1 stop, and from the one following it by 1 stop. The darkest part of a scene would fall into zone III, while the brightest part of a scene would fall into zone VII. Anything darker than zone III would render as pure black with no detail (under-exposed), while anything brighter than zone VII would render as pure white with no detail (over-exposed).
Average reflectance (18% reflectance), is middle grey (a value right in the middle between pure black and pure white). When a scene contains too much bright, however, the camera tries to render it as average so it darkens it causing under-exposure. On the other hand, when a scene contains too much dark, the camera tries to render it as average so it lightens it causing over-exposure.
For more on Middle Grey and the technique used: here is the link to a comprehensive website which gives a great synopsis and introduction.
https://photography.tutsplus.com/tutorials/understanding-using-ansel-adams-zone-system–photo-5607
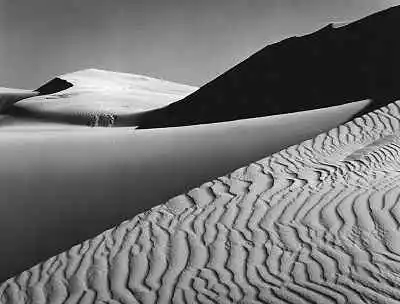
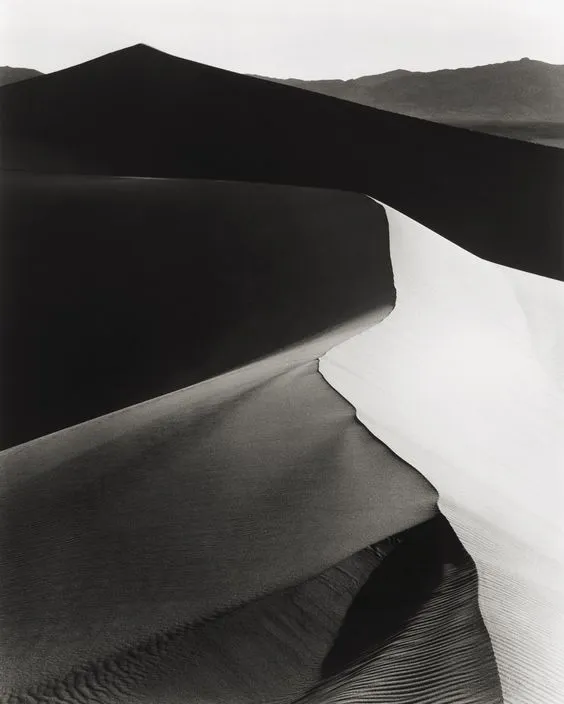
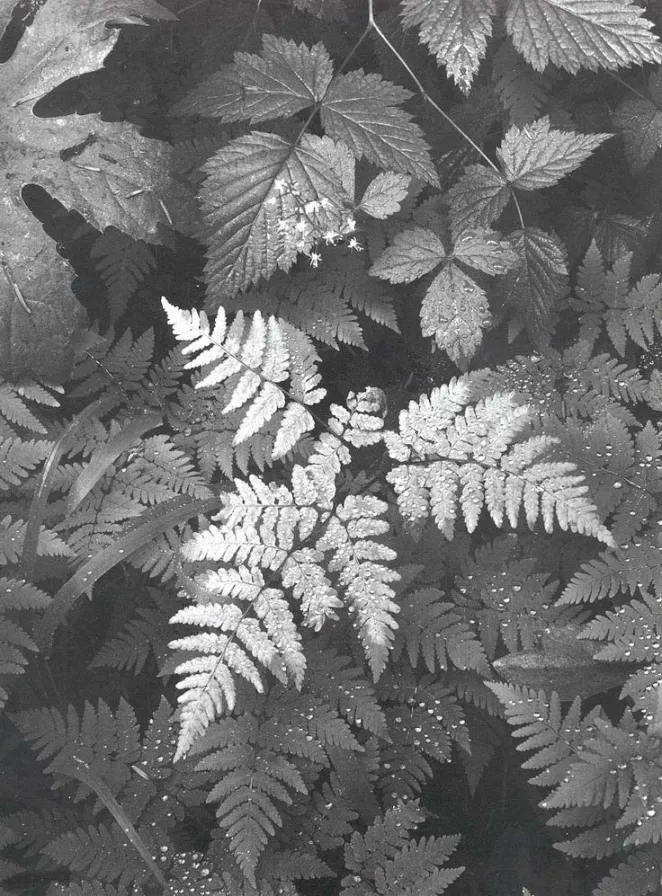
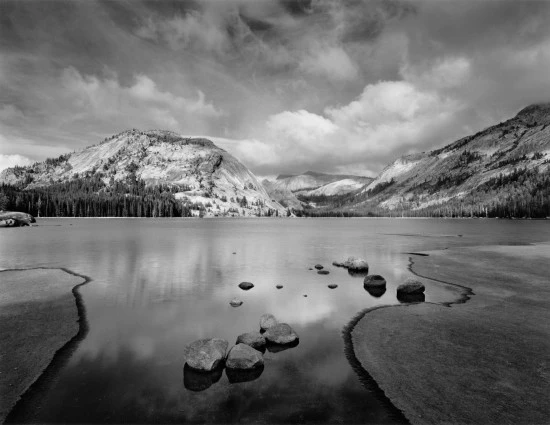
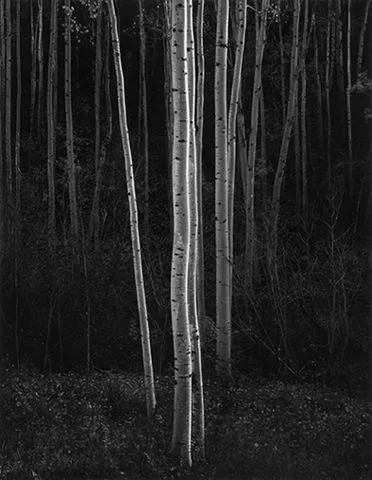
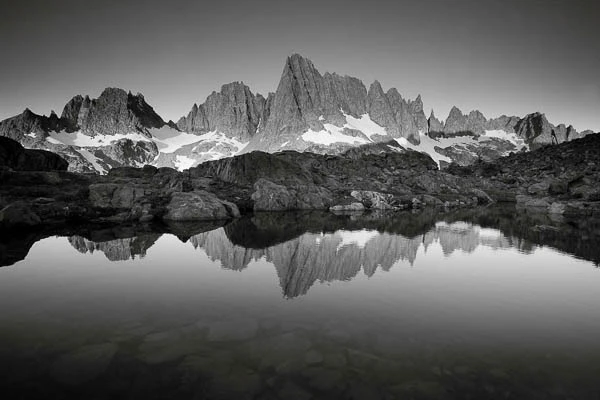
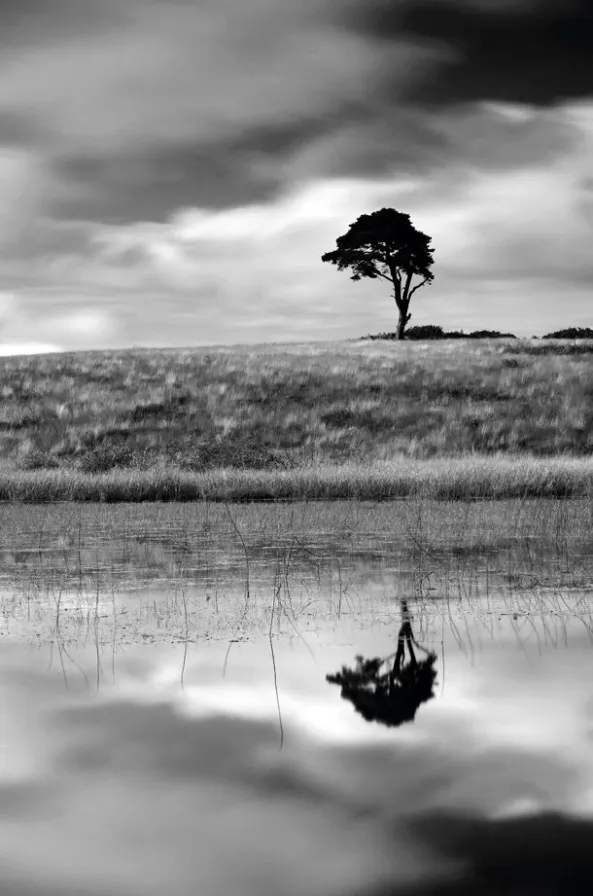
Image Credits: various
References:
- https://photography.tutsplus.com/tutorials/understanding-using-ansel-adams-zone-system–photo-5607
- https://en.wikipedia.org/wiki/Zone_System
- http://www.normankoren.com/zonesystem.html
- http://www.kenrockwell.com/tech/zone.htm
- http://www.alanrossphotography.com/category/tech/zonesystemandmetering/
- https://luminous-landscape.com/zone-system/